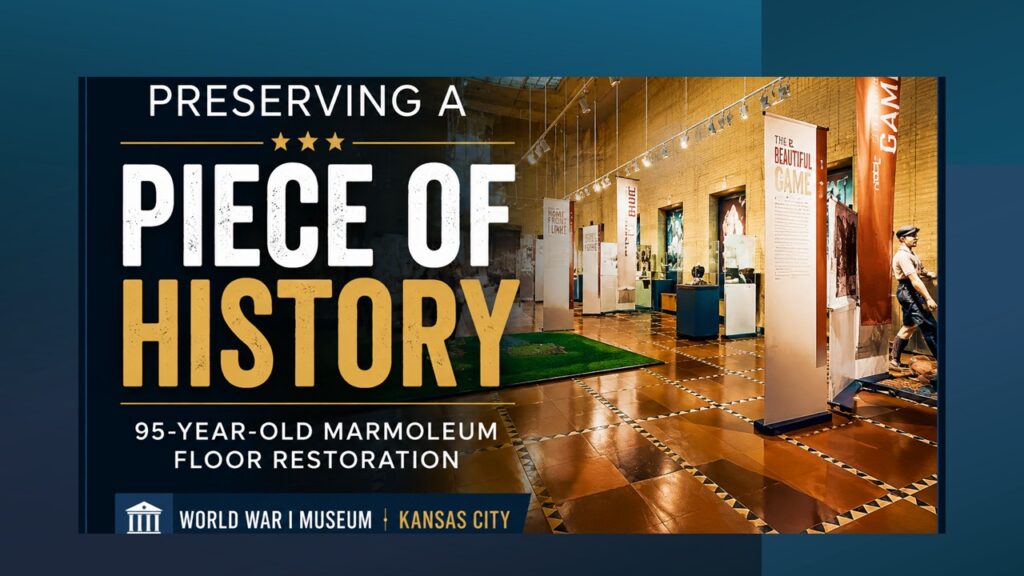
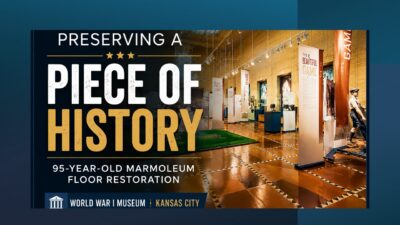
Restoring a 95-Year-Old Historic Marmoleum Floor at the World War I Museum in Kansas City
Featured Project: Restoring a piece of history instead of replacing it.
Some floors can be replaced.
Others deserve to be preserved.
Recently, Advanced 360 Total Floor Care was selected to restore a historic Marmoleum tile floor at the World War I Museum in Kansas City.
At approximately 95 years old, this floor had served generations of visitors and had become an important part of the building’s character and history.
Like many historic floors, years of foot traffic, aging, maintenance, and previous repairs had taken their toll. The floor contained missing tiles, loose tiles, broken sections, surface damage, and years of accumulated contaminants and floor finish.
The museum faced an important decision:
Replace the floor—or restore it.
Their preference was clear: preserve as much of the original flooring as possible.
The Challenge
Historic flooring restoration is very different from a typical flooring project.
Modern flooring materials can often be replaced with readily available products, but Historic Marmoleum flooring presents a completely different challenge.
The floor contained:
Missing Marmoleum tiles
Loose and unstable tiles
Broken tile sections
Previous repairs
Surface wear
Embedded contaminants
Layers of old floor finish
Areas that had lost their original appearance
Finding exact replacement materials for a 95-year-old floor is rarely simple. Even when replacement materials can be found, replacing large sections often changes the character and authenticity of a historic installation.
The goal was to repair the floor while preserving its history and character, but how could we achieve that with none of the original materials?
We had our work cut out for us.
Developing a Restoration Plan
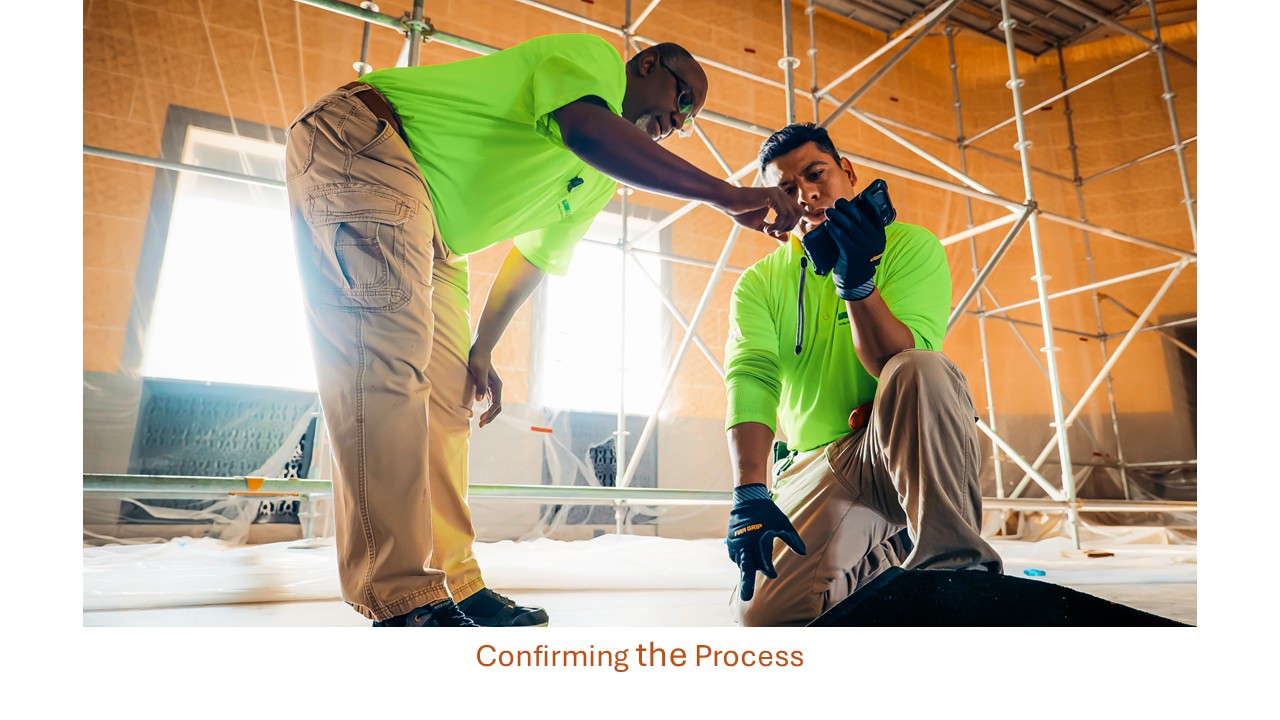
After carefully evaluating the condition of the floor, our team developed a restoration strategy focused on preservation.
We wanted to save as much of the original flooring as possible while addressing the damaged areas and improving the overall appearance of the installation.
Every decision was made with one objective in mind:
Preserve and enhance the floor’s historic character while extending its longevity.
Step 1: Removing Years of Buildup
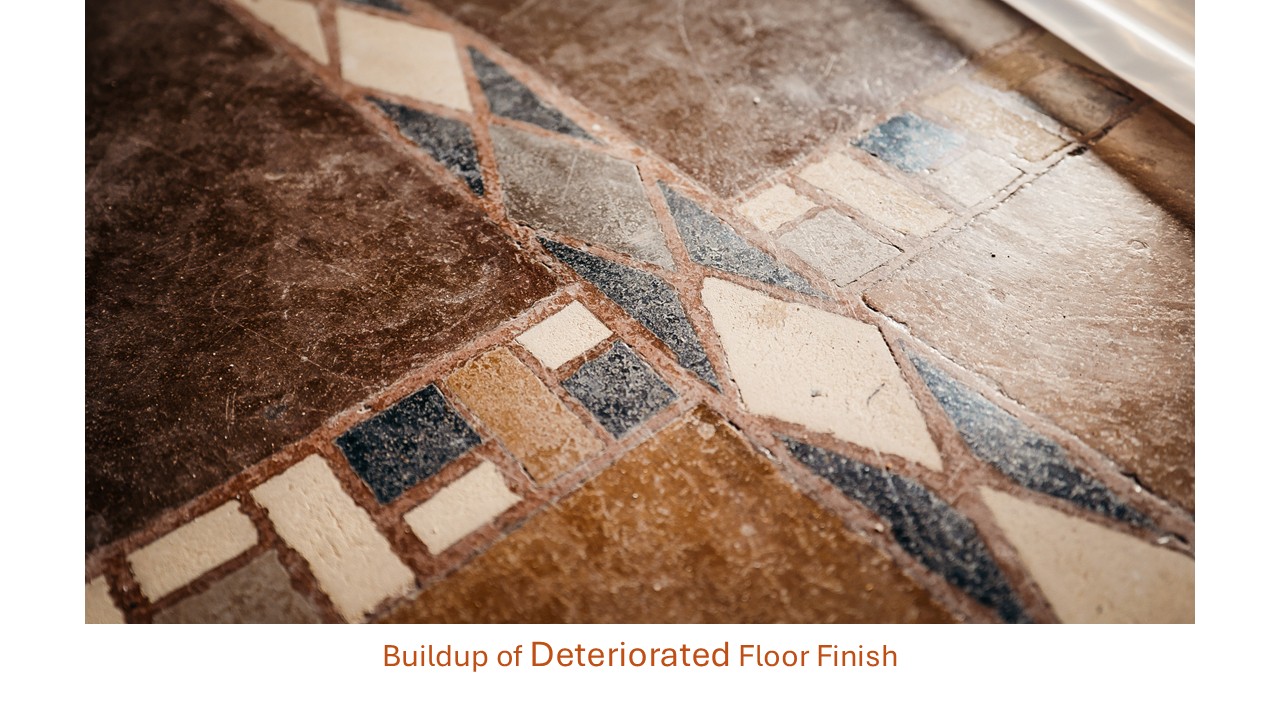
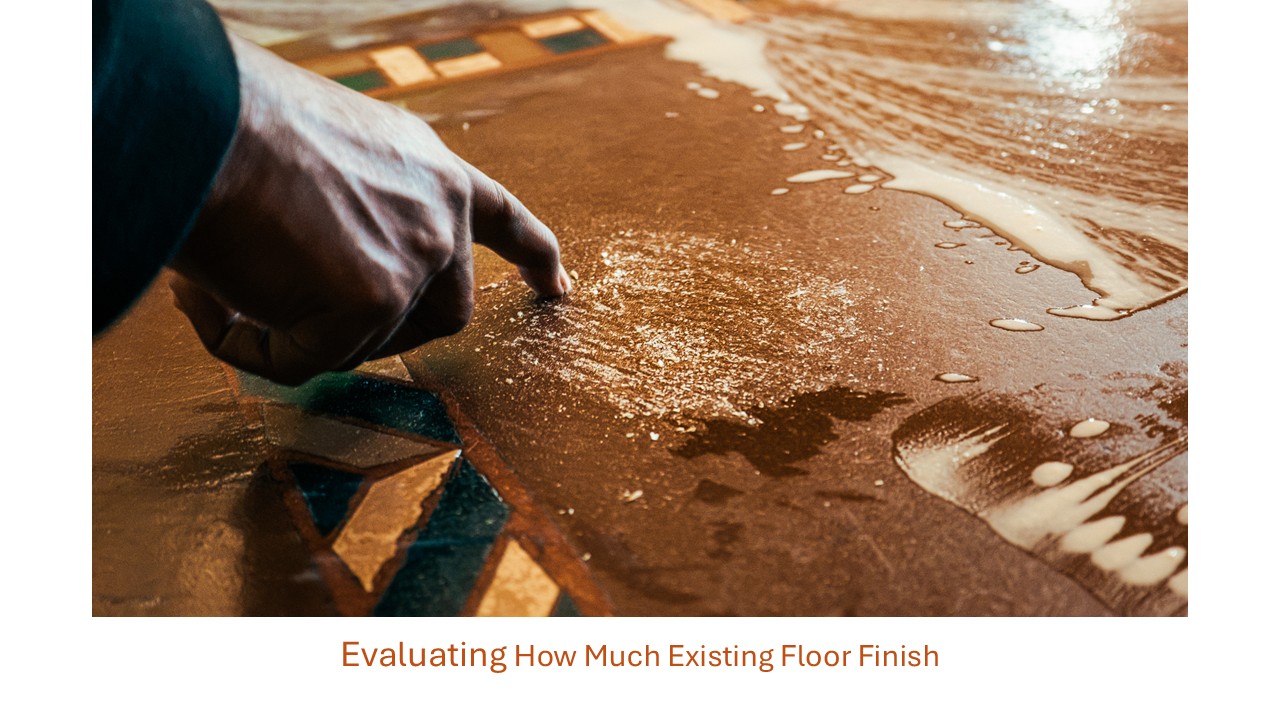
The restoration process began with the removal of a thick layer of built-up contaminants and floor finish.
Over time, these materials had concealed much of the floor’s original appearance. Not only did we need to remove this layer of buildup for the sake of restoration, but also for the sake of analyzing the true state of the floor as accurately as possible.
Once we thoroughly—and carefully—removed these contaminants, we were able to properly evaluate damaged areas and determine the best repair approach.
Step 2: Repairing Missing and Damaged Tiles
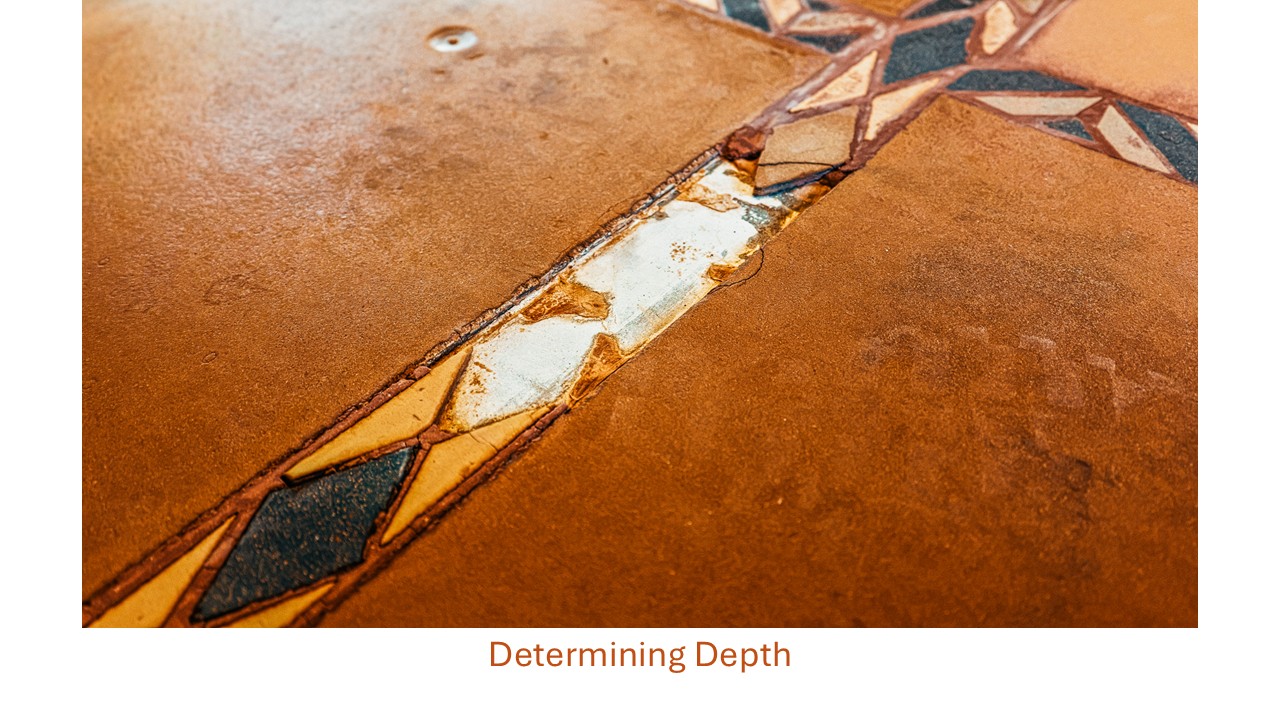
One of the most challenging aspects of the project involved repairing areas where tiles were missing or severely damaged.
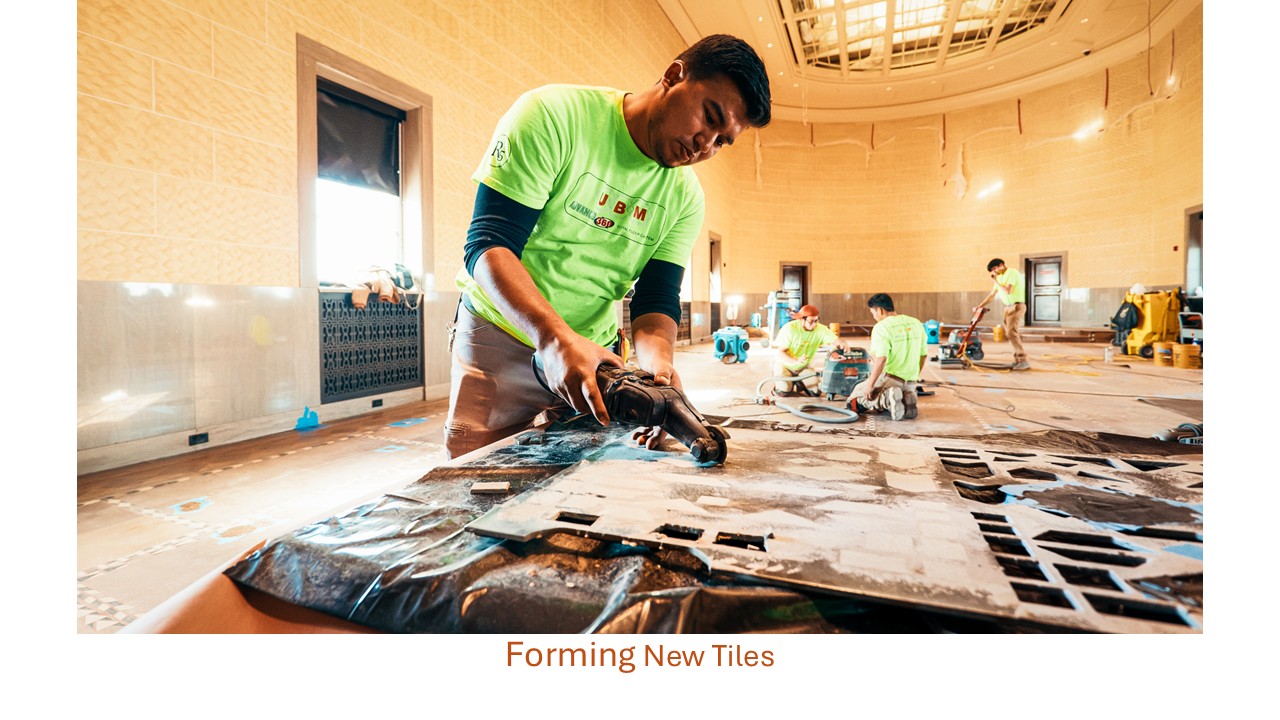
Because matching materials were not readily available, our team had to develop custom repair solutions and carefully color-match repair materials to blend with the surrounding floor.
The goal was not simply to fill holes, but to create repairs that respected the appearance of the original installation.
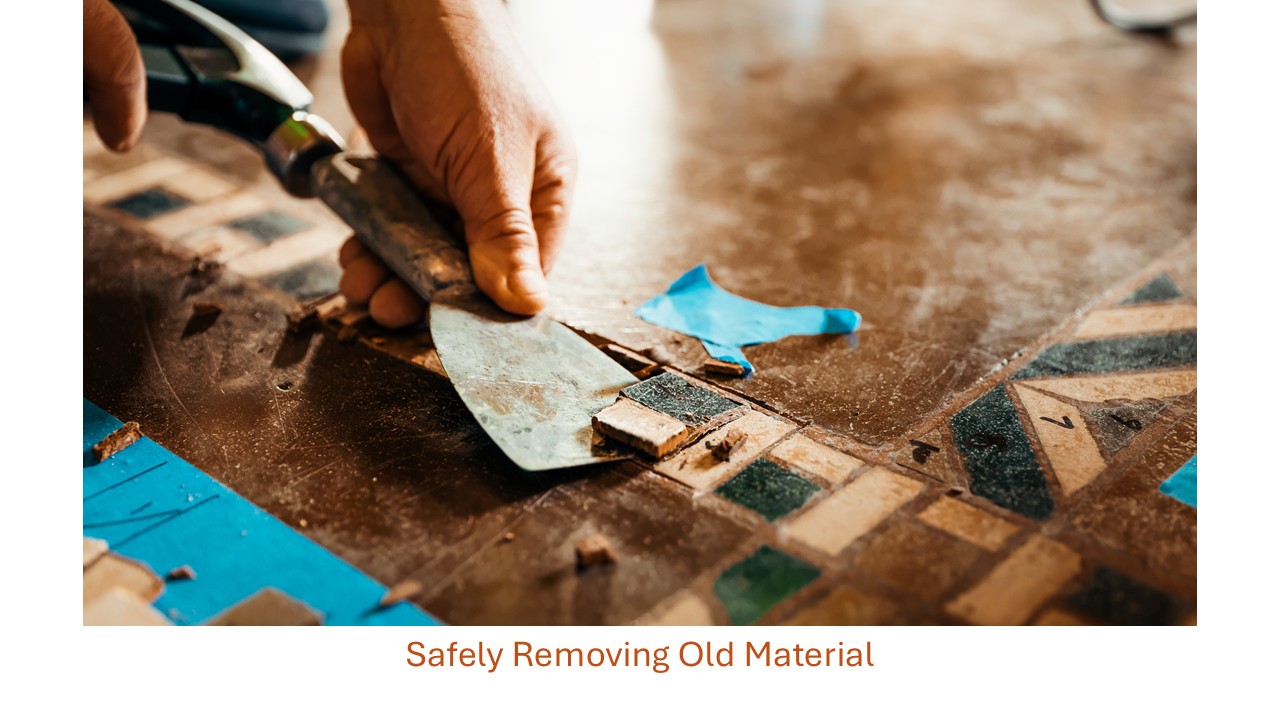
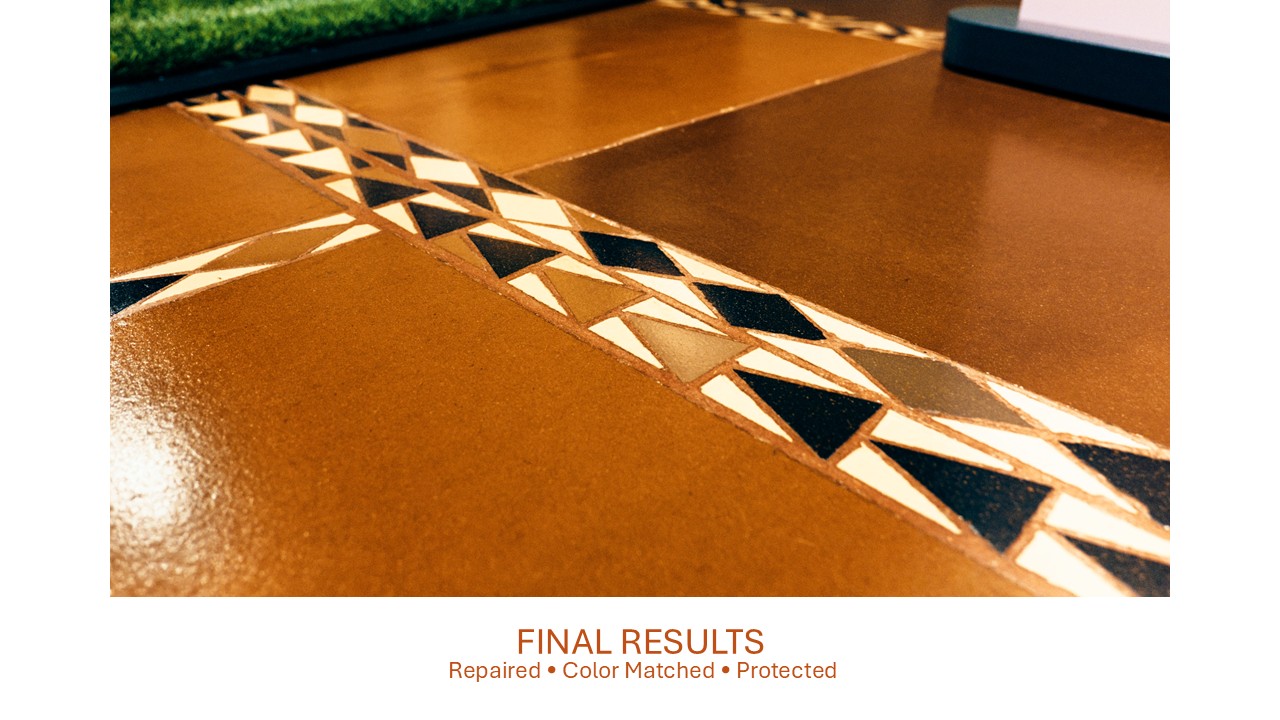
For missing pieces, we used hand-cut custom Marmoleum inserts to match the original tiles. For holes and divots, we mixed Marmoleum dust into a color-matched epoxy repair material.
Several areas that once contained missing sections were successfully restored and blended into the surrounding floor.
Step 3: Resetting Loose and Broken Tiles
Throughout the project, we encountered tiles that had become loose or unstable over time.
Rather than removing and replacing them, we carefully cleaned, stabilized, and reset these areas whenever possible.
This approach helped preserve more of the original flooring while improving the integrity of the installation. Our hand-made tiles and repairs were a close match, but we still worked hard to preserve as many original pieces as we could.
Step 4: Protecting the Restored Floor
Once repairs were completed, the floor was protected using an ultra-durable protective finish designed to reduce future maintenance requirements.
Unlike traditional finishes that often require regular stripping and refinishing, this system helps protect the floor while simplifying long-term maintenance—as long as the floor is properly maintained.
For a historic facility, protecting the floor is just as important as restoring it.
Watch the Restoration Process
(video transcript below)
We documented this project from beginning to end in an eight-minute video that showcases the restoration process, repair techniques, challenges encountered, and final results.
The video provides a behind-the-scenes look at what it takes to preserve a historic floor that many people assumed would need replacement.
In the video, World War 1 Memorial Project Manager Ben Glasier shared his thoughts following the completion of the restoration project:
“We loved working with Advanced 360 Total Floor Care. They came on time, we didn’t need to have a babysitter for them, and they delivered what they promised to deliver. Everyone’s thrilled with the final product on the floors.”
The Results
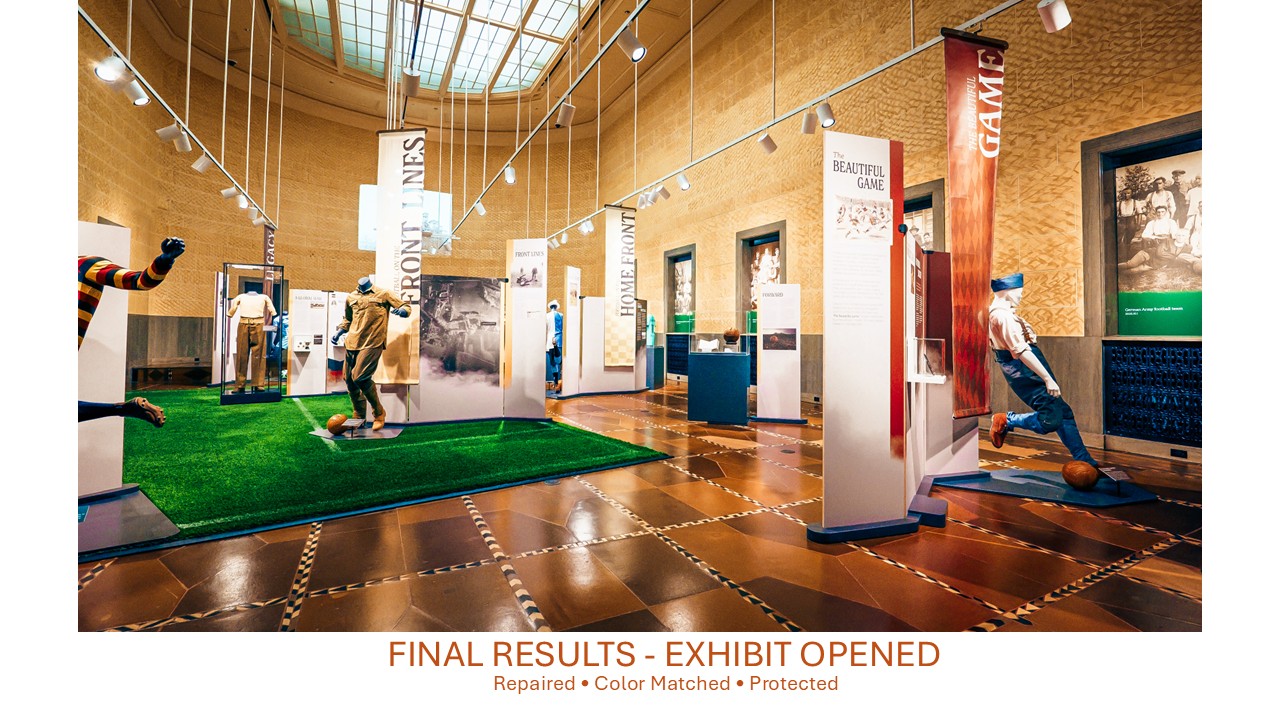
The transformation exceeded expectations.
The floor that once contained missing tiles, loose sections, damaged areas, and years of buildup was successfully restored and protected.
Project highlights included:
✓ Missing tile areas repaired
✓ Loose tiles stabilized and reset
✓ Damaged sections restored
✓ Historic character preserved
✓ Appearance dramatically improved
✓ Long-term protection installed
✓ Full replacement avoided
Most importantly, the museum was able to preserve an original architectural feature that has been part of the building for nearly a century.
The client was extremely pleased with the outcome and provided a positive testimonial regarding both the restoration process and the final result.
Why Restoration Often Makes More Sense Than Replacement
Many facility managers automatically assume that aging floors must eventually be replaced.
In reality, restoration is often a viable alternative.
Professional restoration can help:
Preserve original materials
Protect historic character
Reduce replacement costs
Minimize disruption
Improve appearance
Extend floor life
Simplify future maintenance
Every floor is different, but many historic flooring systems have more life left in them than people realize.
Historic Floor Restoration in Kansas City
Advanced 360 Total Floor Care specializes in restoring and preserving commercial flooring systems throughout the Kansas City area.
We help museums, universities, government facilities, healthcare organizations, commercial buildings, and property managers evaluate aging floors and determine whether restoration can provide a practical alternative to replacement.
Thinking About Replacing an Older Floor?
Before you remove a floor that may have historical, architectural, or financial value, let us evaluate whether restoration is possible.
You may have more options than you think.
Serving Kansas City, Overland Park, Lenexa, Olathe, Shawnee, Lawrence, Topeka, and surrounding Kansas and Missouri communities.
➜ Learn how Advanced 369 Total Floor Care can address damaged commercial floors while minimizing disruption to your facility.
Video Transcript:
100 years of Liberty Memorial [music] History is being celebrated in a new exhibit that opens this weekend. [music] Just to give you a little idea of what we’re trying to do in this project, it’s an old Marmoleum floor that’s bout 95 years old in a museum that has a lot of traffic. They’re doing some remodeling. They reach out to us and we are here trying to help them out and get it done. is a very complicated but at the same time delicate tile that needs some TLC. We will be very careful not to create damage because it’s not easy to replace 95 years old tile. What can you do with all the in removing some tiles so we can take them to our shop in about 4 weeks. [music] We will come in. We will start by removing all the broken tiles and strip everything up so we can see what other areas that need some repair. After that, we started repairing the color matching and then at the end we’re going to seal the floor. [music] We are using this machine. What it does, it move in a circular motion and also vibrate. I still see some old floor finish buildup. That’s why we’re going slowly using proper floor finish remover so we do not damage the tile. This is the first pass. We might have to do a couple more passes. We started with just less aggressive one. Now [music] we increased the uh amount of the floor finish stripper. We’re trying to figure out how much chemical [music] we put on the floor and how much time does it take before we go ahead and do the entire floor. It might be taking longer time but it will pay dividend. If we figure out the formula that will give us an advantage so we can progress [music] and move faster. This is a very delicate tile has been put down here for about 96 years ago. We do not want to hurt the tile. We want to preserve the tile. [music] One of the challenges that we have these inserts they are different shapes, different sizes. There is no like pattern to follow. Some of them are cut very good and some of them like different edges and ends. So what we did we used a [music] material similar to the existing floor and we started making our own inserts [music] and that takes a little bit long time but at the end it’s going to give it that original look and give that uniqueness to [music] the floor. We have total of 27 different shapes and designs of inserts in this floor. Since those um tiles are discontinued [music] and not available anymore, we had to improvise. We traced all these sizes and we created a plate. We took it to a machine shop and they cut the uh shapes for us. [music] [music] Hector is working on prepping the substrate so he can glue down the inserts. One of the most important steps [music] is making sure there’s no contaminants that prevent the adhesive from sticking to the substrate. He’s making sure to remove any contaminants. Anything that prevent or compromise the adhesion will be an issue down the road. That’s why we take our time and we do it properly. This type of jobs you need to take your time and do it right. [music] Over here we have our color matching station. Hector and Andreas, our best and talented uh guys when it comes to color matching. The idea is to [music] come up with a color that we’re going to use when we repair holes, broken tiles or missing tile. He’s got varieties of colors. He’s got clear repair material that [music] he use as a base and then he adds the colors to come as close as possible. And then when we do the repair, he adds a catalyst [music] which makes the product dry and become hard. These guys are very picky. Pay attention to details and I want to get out of their way and leave them alone. [music] to make the uh color matching a little bit easier and closer. We’re screening the floor [music] and the floor has some wood flour. When they sand and they use the vacuum, all the dust get collected right here. So, you can get a very close uh color match. [music] Now, we are at the mixing station with Andreas. He’s got his uh repairing material right here. He puts a little bit of the dust that we collected. So, our repairing material has some of the dust that we extracted from the floor and that will help you to get as close as possible and also it gives you that natural look, not a plasticky material. When we get done, [music] Omar is going to apply the uh protective sealer that we are intending to use at the end when we finish with the project. So, we have two options. We have satin and then we have gloss. Omar is going to go ahead and put the satin for now. If this sealer maintained properly, it lasts about 3 to 5 years. It can handle heavy traffic, chemical resistance, no scuff marks from shoes. Over here, we’re going to put a gloss, a little bit shinier. So, it’s a matter of taste and preference, but here is the gloss one. Going to put it down. It takes about 10 hours. The other one 8 hours. Then, we’re going to invite the uh client to come and take a look and tell us what they like. My preference will be sat. Hey, customers paying the bill. They get to choose what they want. [music] We’re so excited. We are the final moments of bringing [music] this floor back to life. You can notice [snorts] the difference when we started and how it looks. Today we are at the final step of applying the protective sealer and turn it over to the customer. [music] The team is getting ready to apply the protective sealer. The customer has decided to go with the satin. They do not want a high gloss. One of the disadvantage of the Saturn that shows lines. That’s why we need to work as a team, shoulder-to-shoulder, and helping each other if we miss any spots. We’re going to work as a team. Pablo is the mixing station conductor. He’s the guy overseas and make sure that we have the right product, the right amount, right mixture. Then we come to the applicators. Each person has a task. We have someone applying the product on the floor. We have people doing edges and corners and then we’re going to have someone back rolling the product in case we missed any [music] spot. If you notice the people are back rolling wearing a special shoes. These shoes have cleats so they can walk back and forth into the product without leaving any marks. The other guys who are applying you see them wearing orange [music] booties. The area is wide open and we’re using a satin [music] finish. Saturn has the tendency of leaving lines if you don’t have enough people. It might sound very ccrowded over there right now, but you need it for this kind of big jobs. [music] It was a very difficult project, but we were able to get it done because we planned properly. We selected the right products and we matched the [music] right technicians that are familiar with these kind of projects to get it done properly. is an old, unique, historic [music] floor that needed some work done and we were able to help them bring it back to life. There’s no need for replacement. We were able to restore it to the original look and [music] able to protect it and make it live longer. It’s good for the community and I can say that uh my team and I are very proud of what we have accomplished. [music] I’m Ben Glazier. I’m a project manager here at the National World War I Museum in Memorial. Uh we loved working with Advanced [music] 360 floor care. Uh they came on time. Uh we didn’t need to have a babysitter for them and they delivered what they promised to deliver. Everyone’s thrilled with the final product on the floors. So, this project required [music] um it was a special floor. Uh it was a unique uh historic floor and we needed specialists to work on this project with us and the outcome is uh spectacular. [music] We’re thrilled with the result. It helped preserve the uh original structure of the building and the
original look of the rooms. Uh and again we highly recommend uh 360 for their needs.
Dana
Dana writes about commercial cleaning, healthcare environmental services, and professional floor care for Kansas City facilities. Through Advanced 360 Total Floor Care and Sani-SAFE Healthcare in Lenexa, Kansas, Dana shares real-world guidance on facility maintenance, infection prevention, floor preservation, inspection readiness, and creating cleaner, safer environments.