

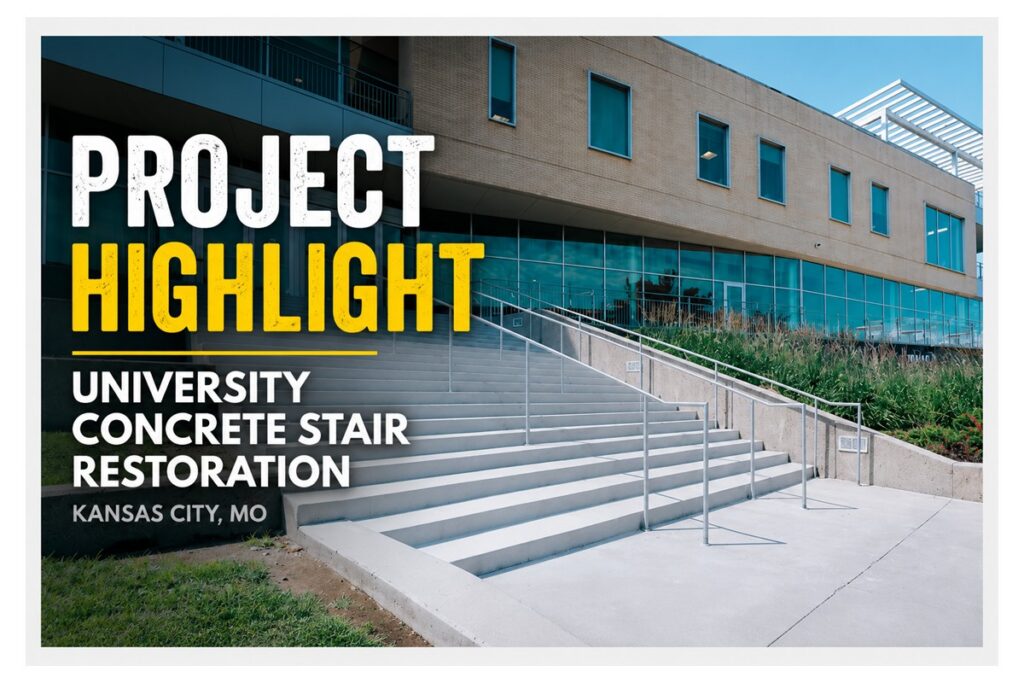
Featured Project: University Concrete Stair Restoration in Kansas City
Project Overview
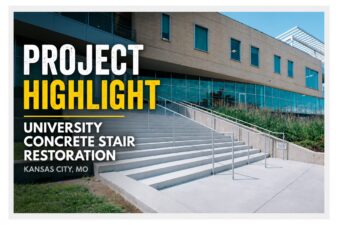
Earlier this year, a major university in Kansas City discovered significant deterioration on a primary exterior stairway. Due to years of exposure to weather, moisture, freeze-thaw cycles, and daily pedestrian traffic, portions of the concrete had deteriorated, creating concerns over both appearance and safety. The facility managers had a tough decision to make:
Should they demolish and replace the entire stair system—or was there another option?
The Challenge
The traditional solution would have been a complete replacement. However, that option posed several challenges:
- Extended closure of the stairway
- Pedestrian traffic disruptions
- Safety concerns during construction
- Noise and demolition activities
- Increased project costs
- Long project timelines
Like many educational facilities, the university could not simply shut down access to the area for an extended period—even during the Summer.
They needed a solution that would improve safety and appearance while minimizing disruption to students, staff, and visitors.
Our Evaluation
After evaluating the condition of the stairway, our team determined that restoration was a viable option.
Rather than demolishing the entire structure, we developed a repair strategy focused on restoring the damaged concrete while preserving the existing stair system.
This approach allowed us to address the deteriorated areas without the time and expense associated with complete replacement.
The Restoration Process
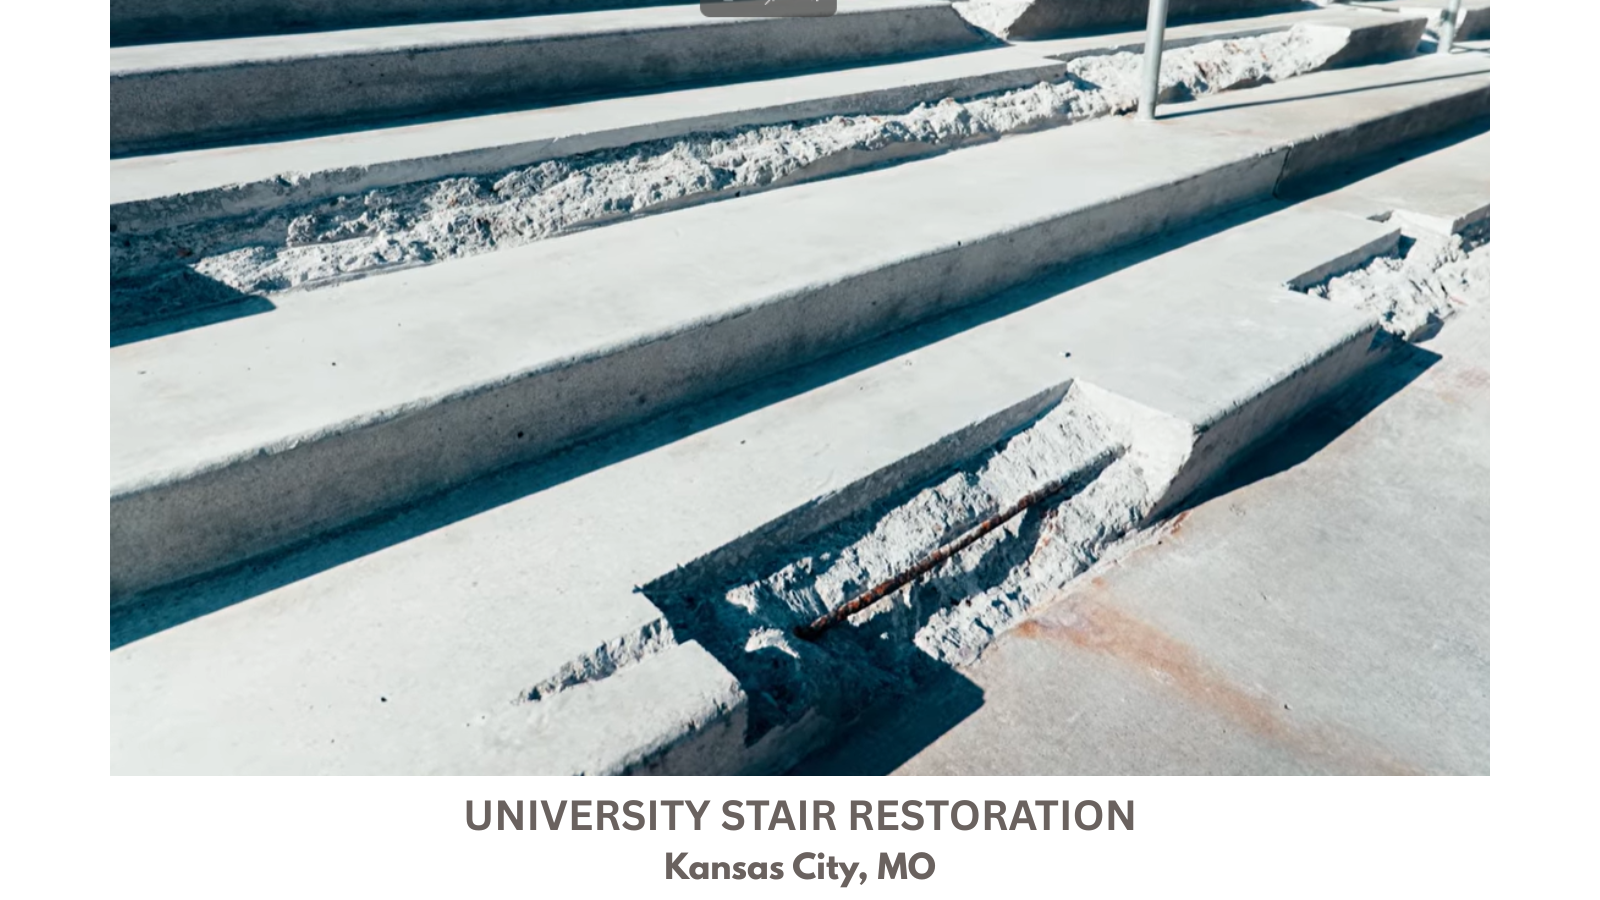
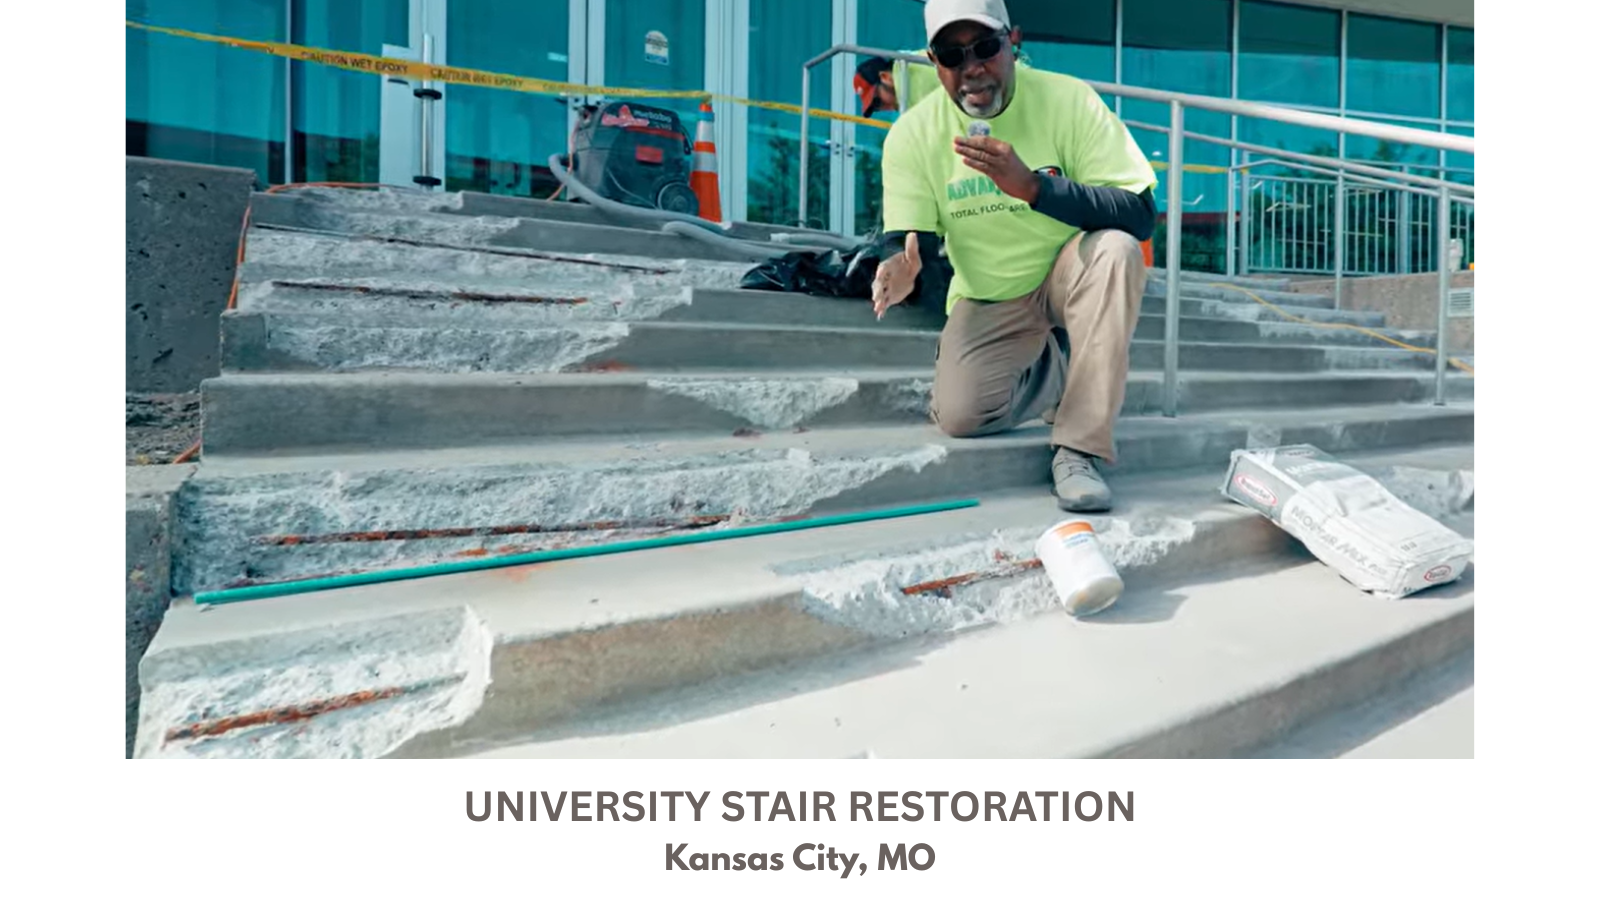
The project involved removing deteriorated concrete and rebuilding damaged sections of the stairway.
Our team carefully prepared the affected areas and restored the stair system to improve both functionality and appearance.
Throughout the process, safety remained a top priority.
By restoring the existing structure rather than replacing it, we were able to significantly reduce project duration and disruption.
Watch the Project Video
(Video Transcript Below)
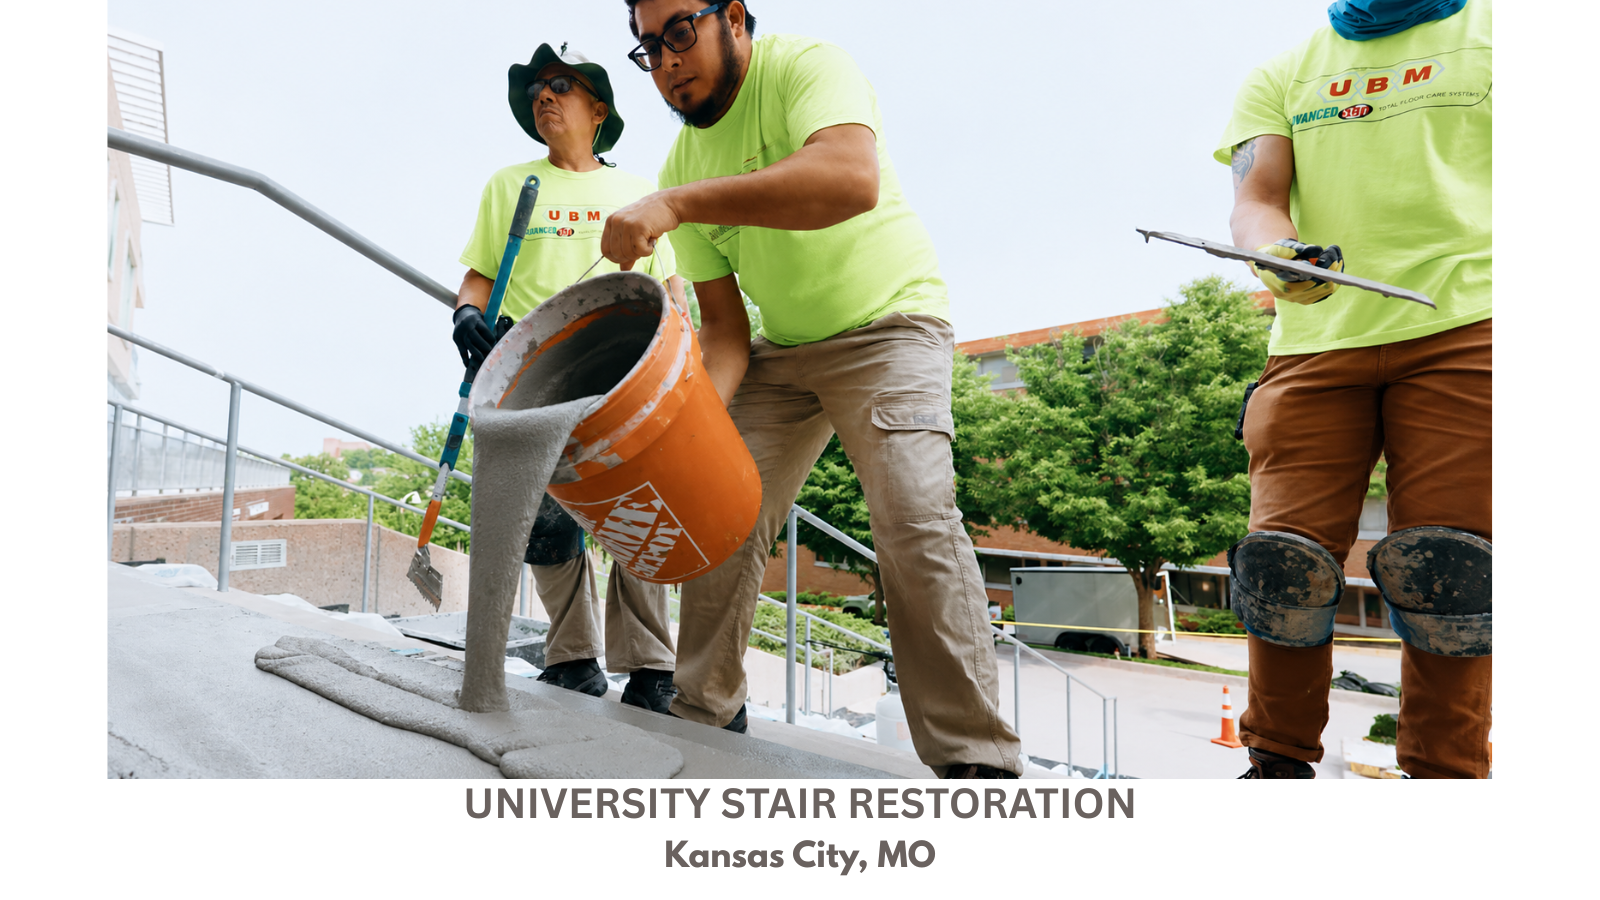
This video documents the concrete restoration process from start to finish and provides a behind-the-scenes look at how the project was completed.
The Result
The restoration was completed in approximately four days.
Instead of closing the entire area for several weeks, the university was able to briefly redirect pedestrian traffic to alternative walkways while work was being performed.
Project outcomes included:
✓ Improved safety
✓ Restored stair appearance
✓ Extended service life
✓ Reduced disruption to campus operations
✓ Faster completion compared to replacement
✓ Lower overall cost than full reconstruction
Most importantly, the university was able to preserve a valuable concrete asset while avoiding the inconvenience and expense of complete replacement.
Repair vs. Replace: What Property Owners Should Know
Many property owners automatically assume deteriorated concrete stairs must be replaced.
In reality, many exterior concrete structures can be successfully restored when the underlying structure remains sound.
Every project is different.
Some stairs require replacement.
Others can be repaired and restored at a fraction of the cost and disruption.
The key is evaluating the condition of the concrete before making a decision.
Common Exterior Concrete Problems We Help Solve
- Concrete stair repair
- Spalling concrete repair
- Cracked concrete stairs
- Sidewalk repair
- Building entrance restoration
- Loading dock concrete repair
- Trip hazard correction
- Rust-related concrete deterioration
- Commercial concrete restoration
Commercial Concrete Repair and Restoration in Kansas City
Advanced 360 Total Floor Care helps universities, schools, hospitals, commercial buildings, industrial facilities, property managers, and facility managers evaluate deteriorated concrete and determine whether restoration or replacement is the best solution.
Our goal is simple:
Help clients improve safety, reduce disruption, and extend the life of their concrete assets whenever possible.
Need Help With Deteriorated Concrete?
If you’re dealing with broken concrete stairs, spalling concrete, trip hazards, rust-related deterioration, or failing exterior concrete structures, contact our team for an evaluation.
You may have more options than you think.
Serving Kansas City, Overland Park, Lenexa, Olathe, Shawnee, Lawrence, Topeka, and surrounding Kansas and Missouri communities.
➜ Learn how professional Commercial Concrete Repair can be performed while minimizing disruption to your operations.
(Video Transcript)
Today we are at a job site. We doing some restoration on the stairs. The stairs have been deteriorating. We are here to do some repairs. Come with me.
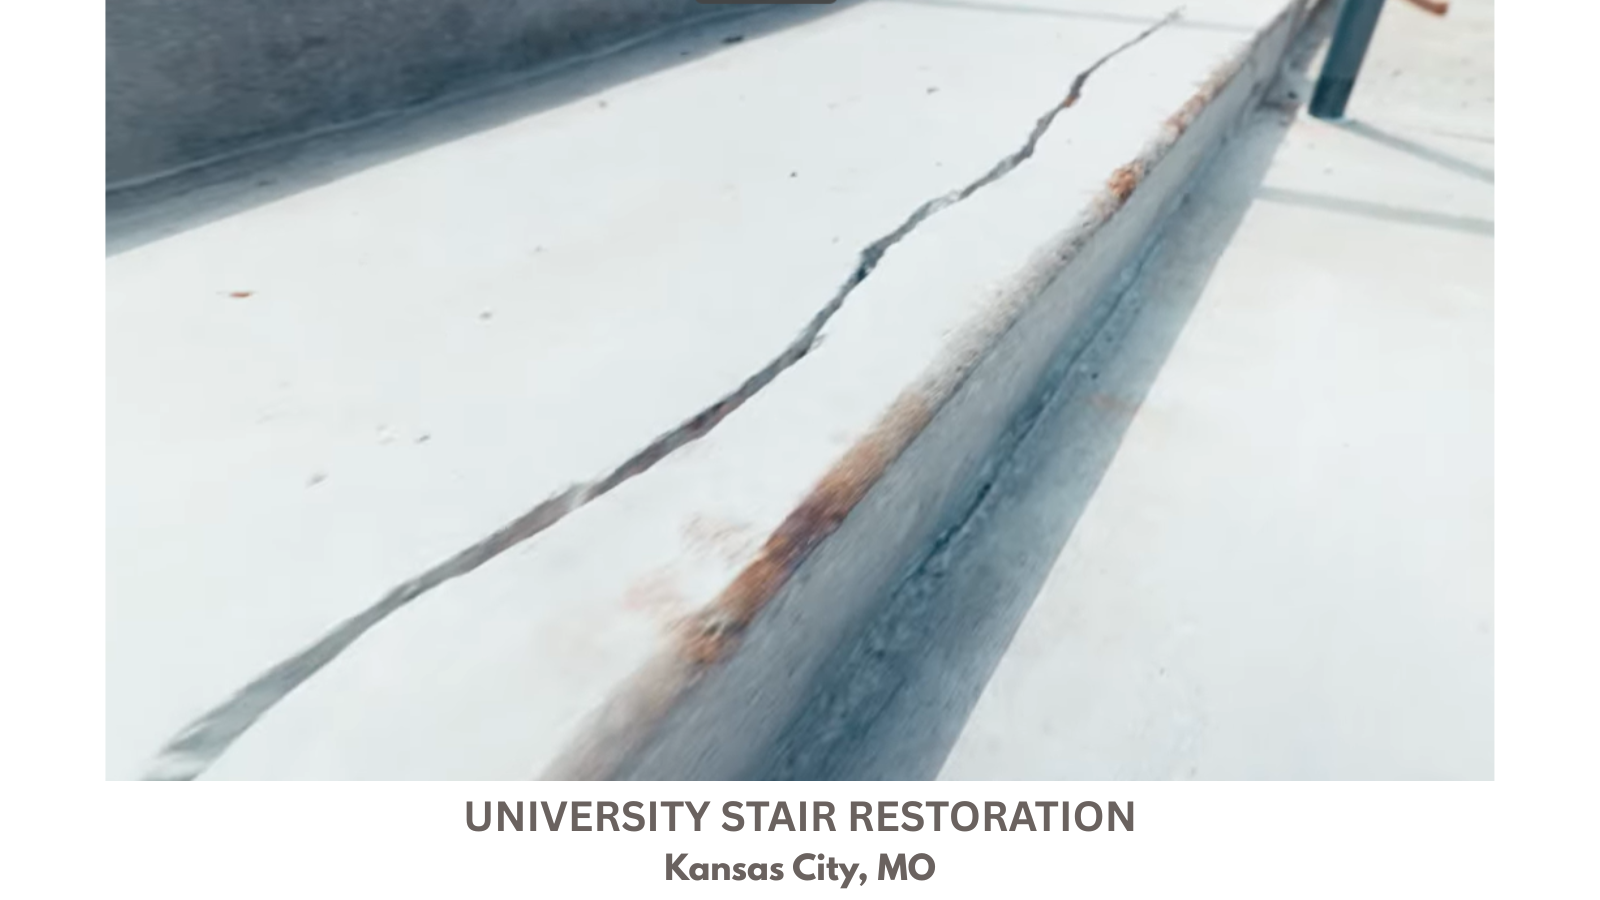
As you can tell, you can see right here, the moisture has penetrated the concrete and made its way to the rebars. And you can see some rust stains start to form and once the rebar gets rusted it expands and that expansion will lead to breaking the concrete.
One of the challenges in this job was the quality of the concrete was not great. Okay to start with. If you notice, there are some metal objects in the concrete itself.
All these have to be removed. Another thing too over here is the joint not filled properly and protected. The water comes through here gets to the metal start the oxidation process. So, a combination of concrete was not sealed properly and whenever it rains, it gets through the rebar. When we get done with the project, we’re going to use the proper material to prevent any moisture from getting to the rebar and reactivating the rust stains again.
Okay, if you notice over here, you’ve got some rough edges. Before we do any uh repairs, we’re going to cut them and make them squarer because when you do a square, it looks nicer and also it gives us a good anchoring point where we can place the uh repair material.
We chipped all the deteriorated concrete. Now the next step will be we’re going to cut these rusted rebars and we’re going to replace them with new rebars that made out of fiberglass so there is no more rusting. It is a system. It’s not just like one thing. In order to do the job properly, you have to follow the system. When the metal rusted so bad, we prefer to cut it off and remove it completely because no matter how much you clean it up, there’s a possibility get reactivated and start rusting again. So, we’ll cut it, throw it away, replace it with the fiberglass one. If we have some short ones, we can clean them up really good, remove the oxidation, and then we use this epoxy primer. It has rust inhibitors. It prevents the rust from coming back. We removed the damaged rebar and we replaced it with fiberglass one. Now to prevent any oxidation in the future, Hector is going [music] to use epoxy primer. Go ahead, Hector. That will seal the exposed rebar and prevent any oxidation in the future.
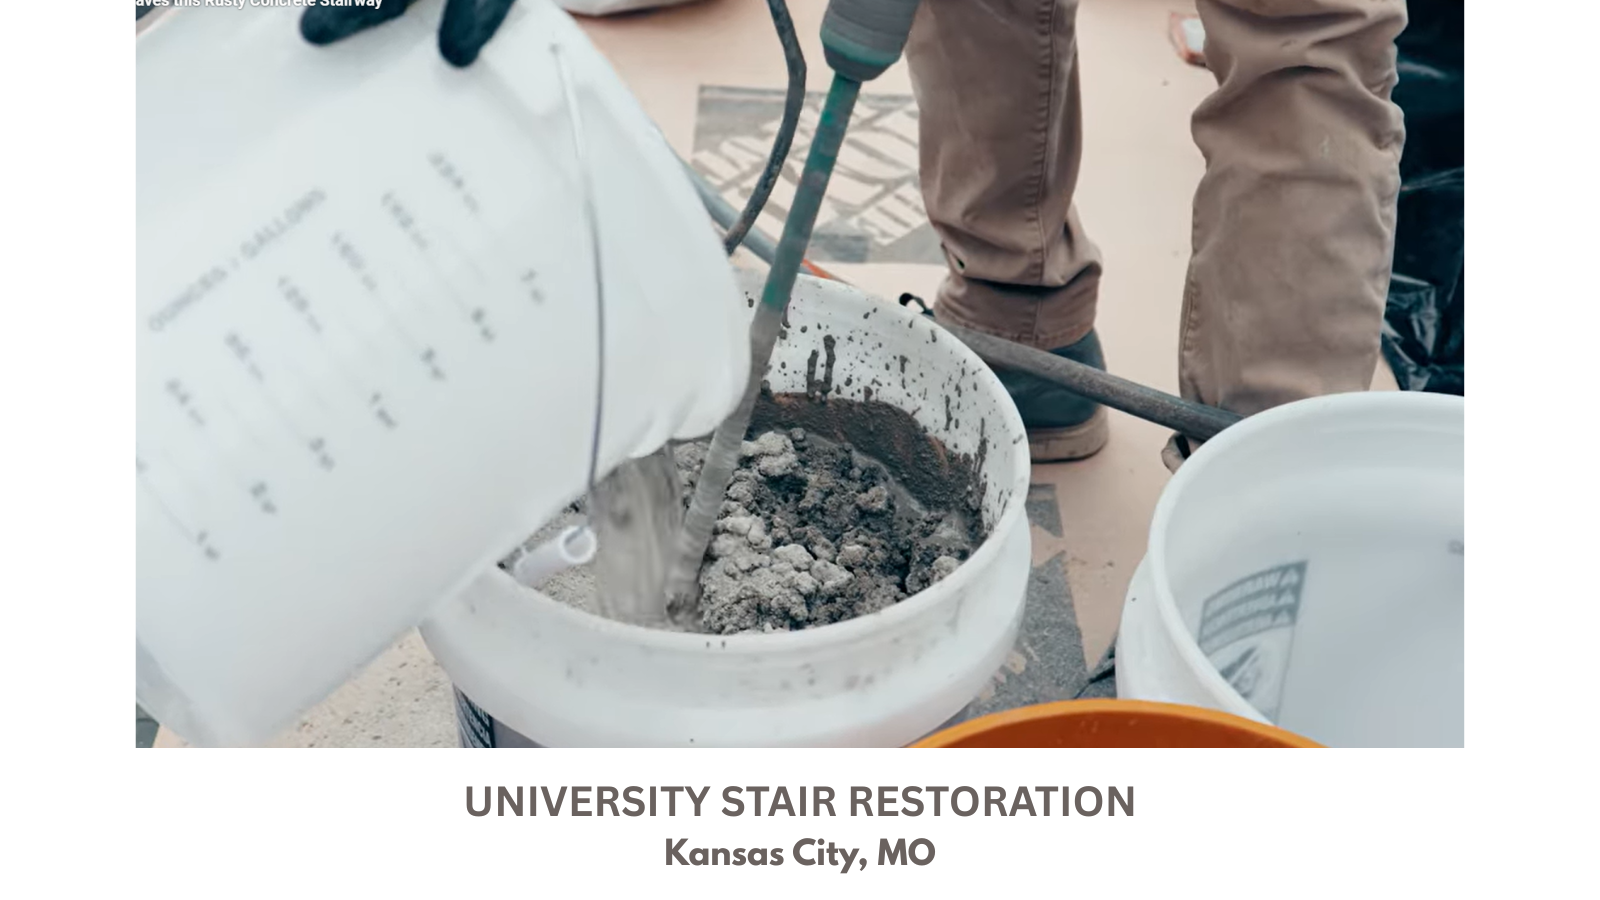
I’m here with my friend Rafael from Rapid Set. Could you introduce yourself? My name is Rafael. I’m the vendor from Rapid Set. Today we’re here with a really good project. We’re going to showcase our ModMix Plus. And the reason we choose that material is because the rebar is corroded. This material already has a corrosion inhibitor. It is fast setting and we can build it out from/ in all the way to 6 in thick if we need to.
I’m spraying the concrete. Concrete is porous. We don’t want all the moisture from the repair material to go into the concrete and then dry out the repair product. One of the best practice we do, we spray. Just mix a little bit of water to get the surface moist. And then also Omar is going ahead and taking a little bit of the product, wearing a glove, smearing it all over the surface. That will help also with good adhesion.
The repair where we cut the old concrete and the damaged rebars. After we cut them out, we patch the area with another cementious material. If you notice, it does not look uniform. So, what we’re going to do the next step, we’re going to get 100% solid epoxy. That’s like a moisture vapor barrier. We’re going to coat everything and protect the floor from any moisture. Then we’ll come back with a resurfacer. It’s like you’re putting brand new concrete layer on top to make everything look the same. If you do not do that, you’re going to see the repair, and it does not look all uniform.
Hector is applying the moisture and vapor barrier epoxy that has a thickening agent, so it doesn’t run when we do the faces. Then we’re going to follow with some silica sand that will help us tomorrow anchor the resurfacer which is a concrete cement product that needs to be anchored on something. So, the sand will help us do that. Before we go to apply the concrete resurfacer, we need to make sure that we sweep up all the silica sand. Any loose sand might cause a problem, and the product might not adhere correctly to the surface. So, we vacuum, we remove all the loose silica and then after that we use the blower to make sure everything is gone. And then we go to the uh resurfacing process.
Couple of things when you work in this kind of environment and the type of product we use a hydraulic cement. They kick in very quick. You don’t have a lot of time. But there are a couple of things you can do. Three things matter of fact. You can start early in the morning, not under direct sun and the temperature is lower. Also, you can bring some ice keep your mixing water very cool. And also, you can put a set control. Set control will buy you more time. So, you can slow down the product, so it doesn’t take in real quick. Those are three techniques that you can use to extend the working time. Since it’s a big and wide area and your time for putting the product down is very short, we broke it into sections. That’s why we’re using plastic in the middle. We’re going to take one section at a time, so we have enough time to work with the product. Then when we complete it, go to the second section minutes, and the next one. You cannot do an open area like this in one shot because while applying the product, there’s a possibility might get hard. This product is stronger than concrete. Regular concrete is 4,000 PSI. This product in about 7 days will be 7500 or more PSI. So, you got to be careful. You don’t want to make mistakes because you’re going to end up spending a lot of time removing that product. It’s very unforgiving. Before you apply the product, we miss the surface a little bit. We don’t want the surface to absorb the water or the moisture from the product. If the product is dry, you might have a possibility of cracking or not adhering to the surface. Since we have sand in there, we apply a little bit of moisture so we can have good adhesion.
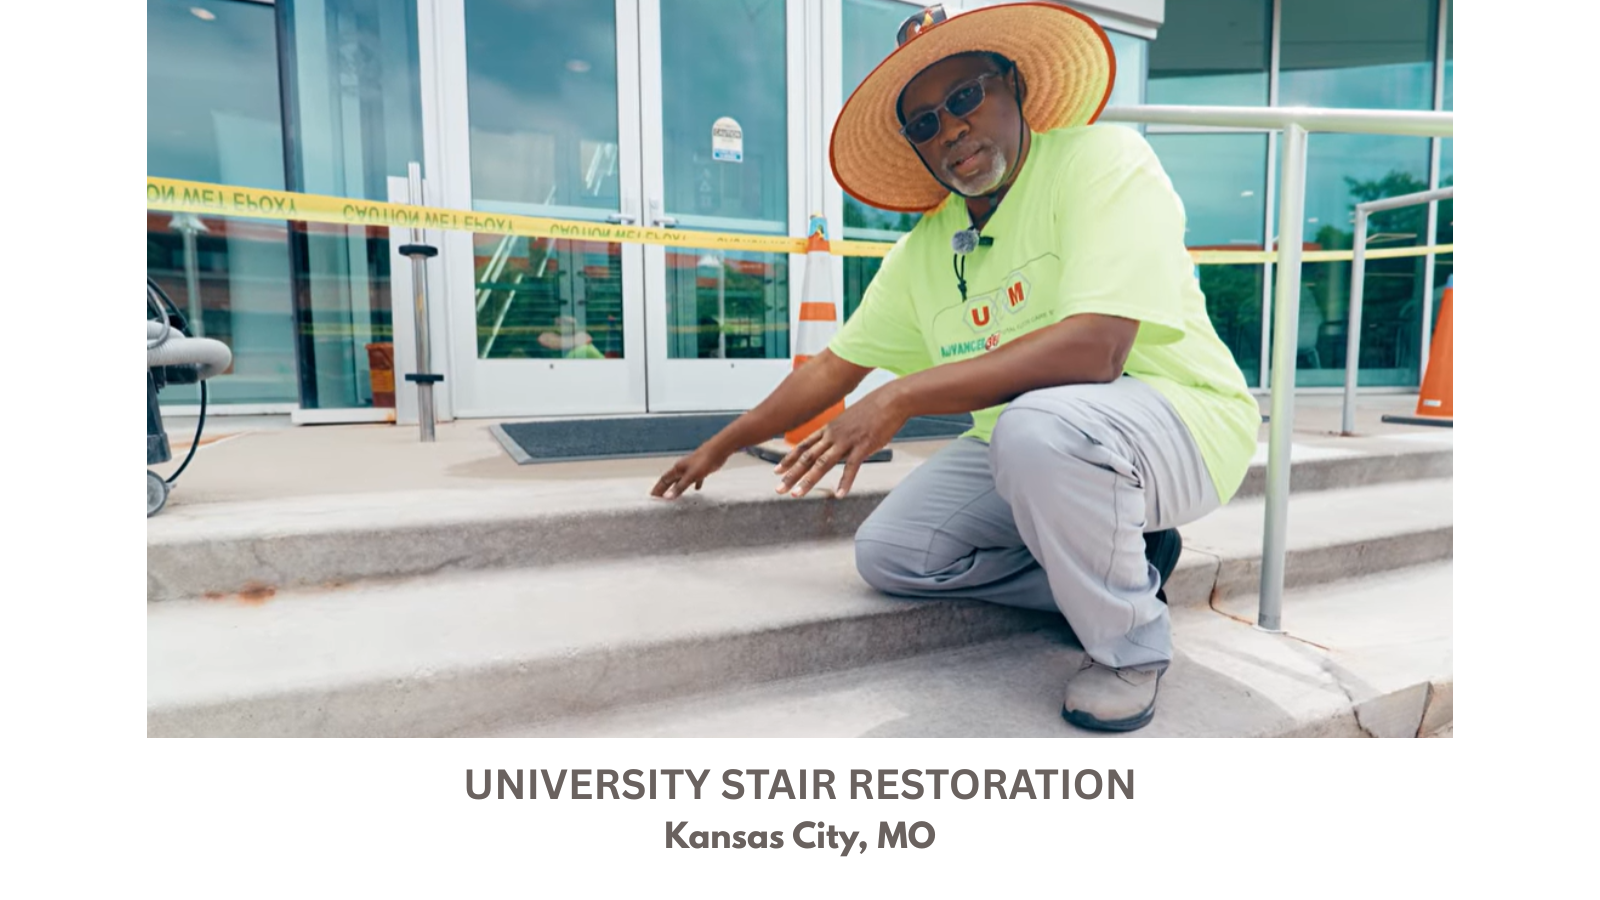
Quick recap of what we’ve done on the stairs. We had some issues with broken concrete. The floor became unsafe to use. So, what the uh university management decided they wanted to do something, but they don’t have the luxury of ripping up everything, shut down the area, bring the dumpster, close the road. It would just create a lot of inconvenience for the college. So, what we did, we came up with our solution of doing the restoration. This process costs a third the price off tearing it up, putting new one and all the inconvenience. We removed all the deteriorated concrete and rusted rebars, replaced them with the uh fiberglass and then after that we use a proper material that made for this kind of environment which is a hydraulic cement. It has some rust inhibitors as well. So, we did the repair and after that we did resurfacing the entire stairs so everything looks the same and we came back and applied the uh sealer to prevent any moisture from leaking and going underneath in the future. So, the floor is being restored and now it’s protected for years to come.