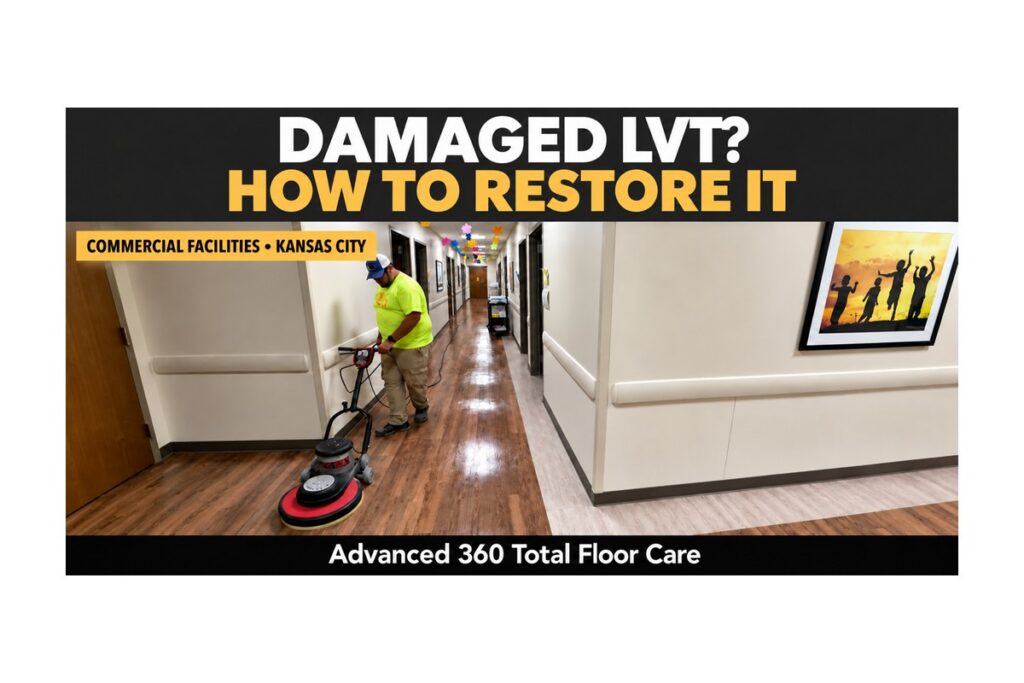


Commercial luxury vinyl tile can look badly damaged when scratches, haze, yellowed coating, or uneven shine build up over time. Some floors can be substantially improved, but the recovery method must match the flooring. LVT normally has a factory-applied wear layer, and an aggressive VCT stripping process can permanently damage it.
(Video Transcript Below)
A qualified contractor should first identify the floor, determine whether the visible damage is in an added coating or the factory surface, and complete a small test area. That test helps the facility choose among deep cleaning, controlled coating removal, an approved restorative system, localized tile replacement, or a broader replacement plan.
Why LVT cannot be treated like VCT
VCT is commonly maintained with a sacrificial floor-finish system that can be stripped and rebuilt. Most commercial LVT is manufactured with a clear wear layer and a protective factory coating over a printed design. Many products are intended for no-polish maintenance, while some manufacturers allow specific finishes or restorative coatings.
That distinction controls the recovery plan. A strong alkaline stripper, aggressive pad, high-speed burnishing process, or excessive water may dull the factory surface, change the texture, affect the printed layer, or allow moisture into seams. Before work begins, the contractor should look for the manufacturer, collection, maintenance instructions, installation date, and prior coating history.
What the visible damage may be telling you
Several problems can look similar from a distance. A test area should confirm the condition before the facility approves a full-floor process.
| Visible condition | Possible source | Possible recovery direction |
| Light scuffs or fine scratches | Soil or damage in an added coating or factory surface | Test cleaning and an approved low-aggression restoration process |
| Yellow or brown buildup | Aged finish, incompatible coating, or trapped soil | Controlled removal only after product and chemical testing |
| Uneven shine or glossy patches | Partial recoating, burnishing, or inconsistent finish buildup | Map coated areas and test for compatible removal or recoating |
| White haze or streaks | Cleaner residue, excess chemical, moisture, or coating failure | Identify the cause before cleaning or applying another product |
| Deep cuts or gouges | Damage through the wear layer and possibly the design layer | Replace affected planks or tiles when a repair cannot be blended |
| Dark seams or lifting edges | Moisture, adhesive movement, soil entry, or dimensional change | Evaluate the underlying condition before surface restoration |
| Faded or missing pattern | Wear through the clear layer into the printed design | Replacement is usually more practical than surface coating |
| Peeling topical coating | Poor adhesion, residue, incompatibility, or moisture | Remove unstable material and correct the cause before recoating |
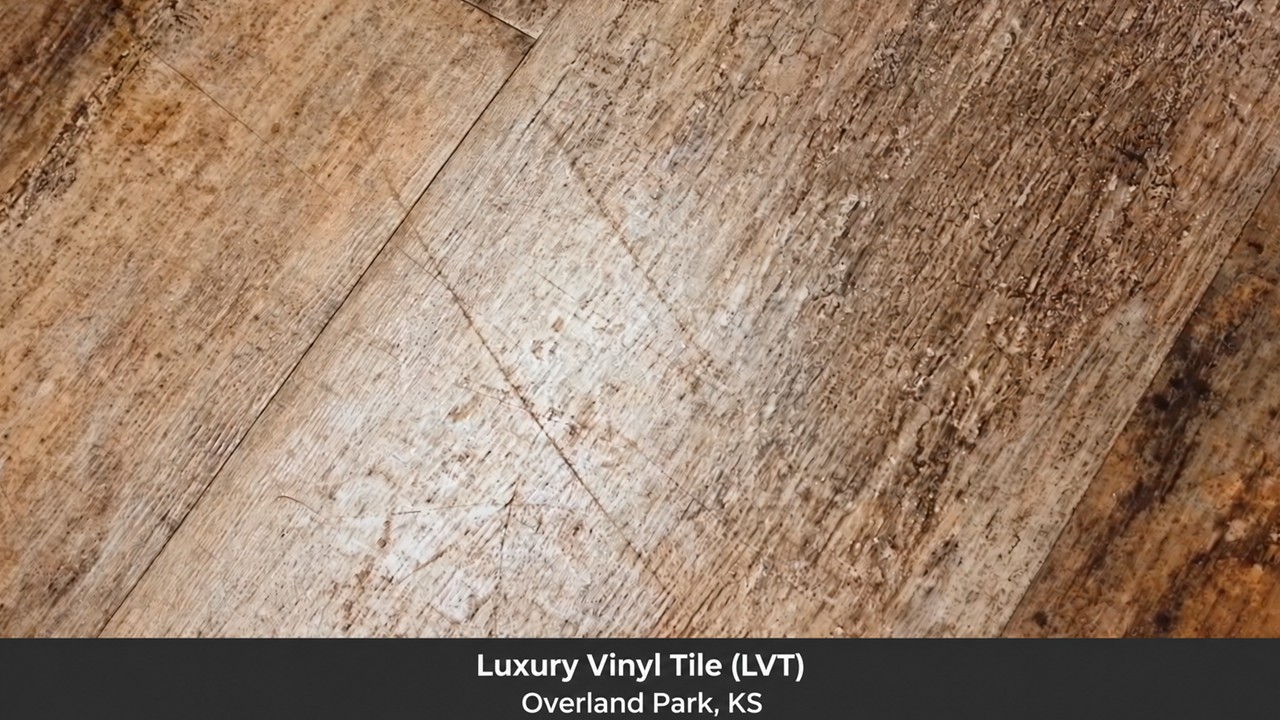
How janitorial maintenance can damage LVT
Most maintenance damage develops gradually. A process designed for VCT may be repeated on LVT because the floors look similar, or a crew may add finish whenever the appearance declines without confirming that the product accepts a coating.
- Applying generic floor finish or wax to a no-polish LVT product
- Recoating over soil, cleaner residue, scuffs, or partially removed coating
- Using strong stripper, degreaser, or disinfectant at the wrong concentration
- Scrubbing with an aggressive pad that scratches or dulls the factory surface
- Burnishing a product or coating that was not designed for high-speed equipment
- Allowing dirty solution or excess water to enter seams and affect the adhesive
- Using worn squeegees, dirty pads, or equipment that leaves streaks and residue
- Ignoring walk-off matting and allowing abrasive grit to remain in traffic lanes
Why adding more finish can make the problem worse
A new coat may temporarily increase gloss, but it cannot correct contamination, poor adhesion, or damage below it. Additional layers can trap soil, exaggerate scratches, yellow with age, and make later removal slower and riskier. If the floor was designed for no-polish maintenance, the added coating may also change the slip characteristics, color, texture, and intended appearance.
The facility should pause further coating until a test area establishes what is on the floor, how the factory surface responds, and what level of improvement is realistic. No contractor should promise that every scratch will disappear before determining whether the scratch is in a removable coating or through the wear layer.
How professional LVT recovery should proceed
The recovery process should follow the identified flooring and the selected product manufacturer’s instructions. A commercial project normally includes these steps.
- Identify and document the floor Confirm that the material is LVT and record the manufacturer, collection, wear layer, installation details, prior coatings, damaged areas, and maintenance history.
- Inspect seams and the substrate Document loose tiles, open seams, lifted edges, moisture signs, adhesive movement, cuts, gouges, and areas where the printed pattern is worn.
- Complete a test area Test the least aggressive practical cleaner, chemical, pad, and process in a representative location before treating the entire floor.
- Separate coating damage from flooring damage Determine which scratches, haze, discoloration, and peeling are in an added coating and which conditions extend into the factory wear layer or below it.
- Set a realistic recovery level Agree on what can be removed, what may remain visible, which tiles need replacement, and whether an approved restorative coating is appropriate.
- Protect building operations Create work zones, move and protect furnishings, control access, manage ventilation, and communicate drying, curing, and reopening times.
- Remove soil or failed coating safely Use the tested products, dilution, dwell time, agitation, extraction, and rinse process without flooding seams or abrading the wear layer.
- Repair or replace damaged material Address loose, deeply cut, gouged, delaminated, or badly worn planks and tiles before the final maintenance system is installed.
- Inspect and release the area Confirm appearance, residue removal, repairs, edges, cleanup, slip considerations, and the return-to-service schedule.
- Provide a written maintenance standard Name the approved cleaner, dilution, pads, equipment, coating policy, inspection points, and responsible contacts.
What can and cannot be restored
Surface soil, cleaner residue, light scuffs, and some incompatible topical buildup may be removable. When an approved coating is present and remains sound, a compatible cleaning or recoat process may improve appearance. Results depend on the exact LVT and the products already applied.
Deep gouges, cuts through the wear layer, missing printed pattern, delamination, severe edge damage, and moisture-related adhesive failure cannot be erased by cleaning or coating. Those areas usually require localized replacement or correction of the underlying problem. LVT also cannot be ground, honed, or polished like terrazzo or natural stone.
Questions to ask an LVT restoration company
- Floor identification How will you confirm that this is LVT and identify the manufacturer, wear layer, and maintenance requirements?
- Coating identification How will you determine whether wax, floor finish, or another topical product is present?
- Test area Will you show us the expected result and any remaining damage before pricing the full recovery?
- Damage depth Which scratches are in removable coating, the factory surface, or the printed design layer?
- Products and equipment Which cleaner, remover, pads, machines, dilution, and dwell time will you use, and why are they compatible?
- Moisture and seams How will you control liquid around open seams, lifted edges, and adhesive concerns?
- Repairs and replacement Which planks or tiles need replacement, and how will you address color or pattern matching?
- Building operations How will you manage furniture, access, safety, daily cleanup, odors, and communication?
- Return to service When can the area accept foot traffic, rolling loads, furniture, and wet cleaning?
- Written protection Does the proposal define the process, exclusions, expected result, maintenance plan, and workmanship warranty?
Warning signs when comparing contractors
Be cautious when a contractor:
- Calls the floor VCT without confirming the material
• Plans to use a strong stripper or aggressive pad without a test area
• Promises to remove every scratch before determining the depth of the damage
• Recommends more finish without identifying the existing coating or checking compatibility
• Ignores open seams, lifted edges, moisture signs, or adhesive movement
• Cannot explain the chemical, pad, equipment, rinse, and liquid-control process
• Promises immediate heavy traffic without considering dry and cure requirements
• Provides no written maintenance instructions, exclusions, documentation, or warranty
What affects the cost of LVT floor recovery
Cost depends on the square footage, flooring type, amount and chemistry of the buildup, number of test and removal passes, furniture, small rooms, edges, stairs, damaged tiles, replacement-material availability, night or weekend work, phasing, and return-to-service requirements. A floor with light residue requires a different plan from one buried under multiple incompatible coatings.
A test area gives the facility a practical basis for comparing proposals. It reveals the condition beneath the buildup, the likely appearance after recovery, and the amount of repair or replacement that should be included.
How to prevent the same damage from returning
The facility should give its janitorial team one written LVT maintenance standard. The standard should identify the flooring, approved cleaner and dilution, pads, equipment, coating policy, and response to spills, scuffs, and damaged seams. Product substitutions should be reviewed before use.
- Remove abrasive grit frequently and maintain effective walk-off matting
- Use a manufacturer-compatible neutral cleaner at the correct dilution
- Match pads, brushes, and machines to the LVT and the cleaning task
- Avoid unapproved wax, finish, stripper, degreaser, and high-speed burnishing
- Use controlled moisture and recover dirty solution promptly near seams
- Record products, coating dates, repairs, and recurring problem areas
- Inspect entrances, traffic lanes, break rooms, wet areas, and rolling-load routes
An LVT recovery should not become your second job
Facility managers should not have to identify every chemical, supervise every crew decision, or retrain the janitorial team after the project. A well-managed recovery provides one accountable contact, an approved test area, a written scope, a phased schedule, dependable updates, daily cleanup, photo documentation, maintenance instructions, and a final walkthrough.
Advanced 360 Total Floor Care restores and maintains commercial LVT and other resilient flooring across the Kansas City metro. We inspect the existing condition, test the proposed recovery process, explain what can be improved, coordinate the work around the facility, and provide a written 12-month workmanship warranty for the work covered by the proposal. Our Pain-Free Service approach is designed so the floor project does not become another job for the facility manager to supervise.
Damaged LVT floor help in Kansas City
If previous janitorial maintenance left your LVT scratched, cloudy, uneven, peeling, or covered with floor finish, start with an assessment and test area. Send the facility location, photographs, approximate square footage, operating schedule, known flooring and cleaning products, maintenance history, and available work window. Advanced 360 can explain what can be restored, what needs replacement, and how to prevent the problem from returning.
Frequently Asked Questions
01. Can wax or floor finish be removed from LVT?
- Sometimes, but only after the LVT and coating are identified and a test area confirms that removal will not damage the factory surface. Strong VCT stripper should not be used automatically on LVT.
02. Can scratches be removed from an LVT floor?
- Marks in soil or an added coating may improve with approved cleaning or coating removal. Scratches through the factory wear layer or printed pattern may require tile or plank replacement.
03. How can we tell whether the coating or the LVT is damaged?
- A representative test area can expose the factory surface and show whether a defect is in a topical coating, the wear layer, or below it.
04. Should commercial LVT be waxed?
- Many LVT products are designed for no-polish maintenance. Some allow a specified finish or restorative coating, so follow the manufacturer rather than a VCT routine.
05. Can a high-speed burnisher restore dull LVT?
- Only when the flooring or approved coating specifically allows it. High speed, heat, or an aggressive pad can dull, scratch, or distort an incompatible surface.
06. What if the LVT is lifting or the seams are opening?
- Cleaning will not correct adhesive movement, moisture, dimensional change, or substrate problems. Evaluate the cause before recoating or repairing the floor.
07. Can deeply damaged LVT be repaired without replacing the entire floor?
- Often, individual planks or tiles can be replaced if compatible material is available. Evaluate pattern and color variation, adhesive, substrate condition, and aging.
08. How do we keep the janitorial team from damaging the restored floor?
- Provide one written maintenance standard with approved products, dilution, pads, equipment, coating rules, and inspection triggers. Train the team, document product changes, and inspect high-wear areas before damage spreads.
➜ Learn how professional Commercial LVT Floor Cleaning can remove embedded soil without damaging the factory finish.
Request Your Complimentary LVT Floor Assessment
Call 913-322-6200 or email [email protected] to discuss your LVT floor care needs today.
(Video Transcript)
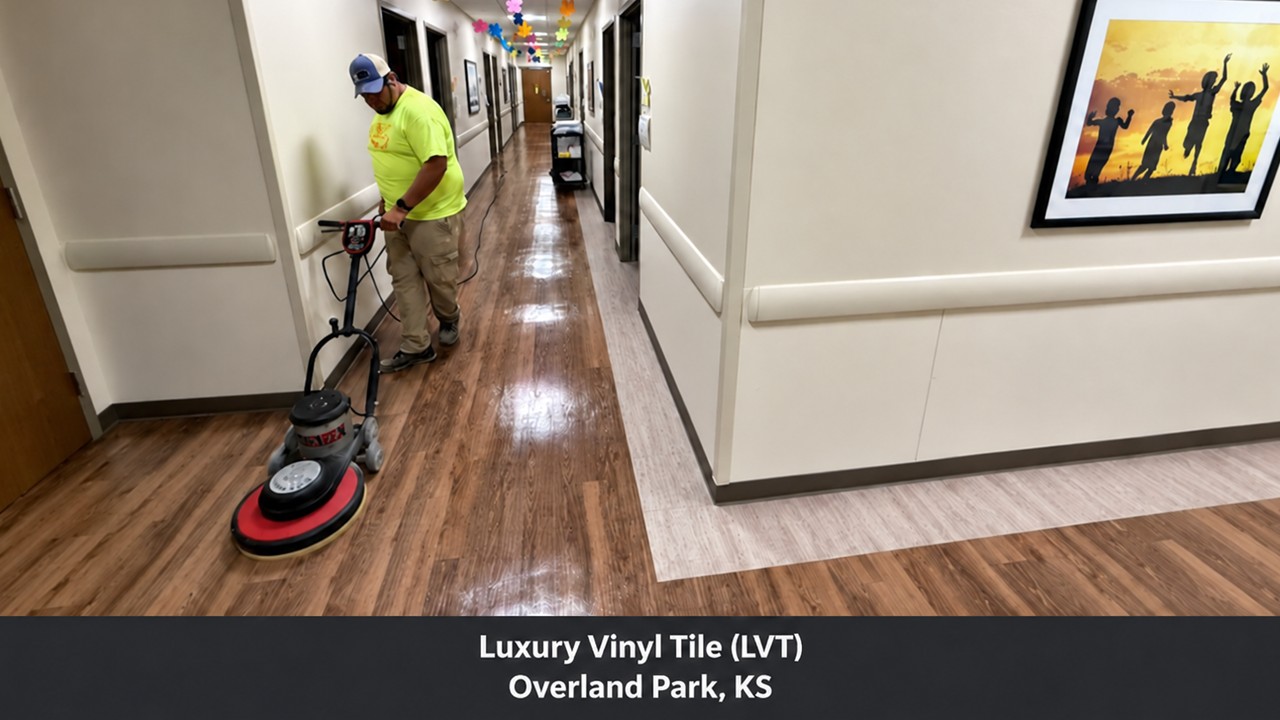
This video documents LVT surface refinishing by abrasive pad and Micron sealer.
The process begins by cleaning the floor using an oscillating scrubber and abrasive pad. The work removes surface contaminants, scuffs, and minor scratches. It’s being used specifically here to correct damage that was caused by recent renovation work.
Luxury Vinyl Tile often comes pre-finished with a protective wear layer. Though durable and abrasion resistant, excessive construction traffic has degraded this floor’s factory finish.
The abrasive pad is smoothing the LVT by removing the surface scratches. The fine inequalities caused by traffic are blended into a uniform condition.
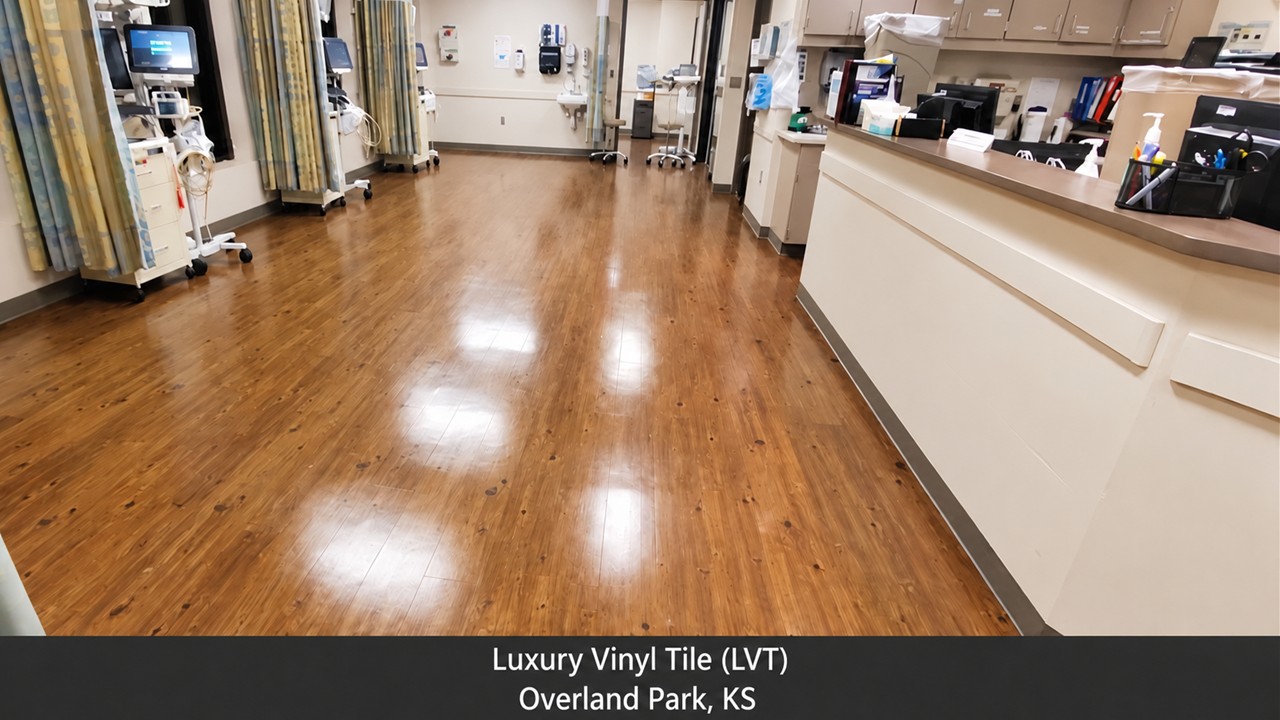
Once the pad work is complete a micron sealer is applied to improve gloss and provide protection.
Different from traditional floor finish, this product requires no future stripping to recoat. Ir provides slip resistance, will not yellow and is ready for use more quickly. The process is done by using a microfiber applicator and once dry usually for 10 minutes a machine buff of the surface takes place the result is a gloss reflection that provides slip resistance and ease of maintenance.
And that’s about it LVT surface refinishing by abrasive pad and Micron sealer.

Dana writes about commercial cleaning, healthcare environmental services, and professional floor care for Kansas City facilities. Through Advanced 360 Total Floor Care and Sani-SAFE Healthcare in Lenexa, Kansas, Dana shares real-world guidance on facility maintenance, infection prevention, floor preservation, inspection readiness, and creating cleaner, safer environments.